Headlight Restoration Kit vs Professional: What You Actually Get
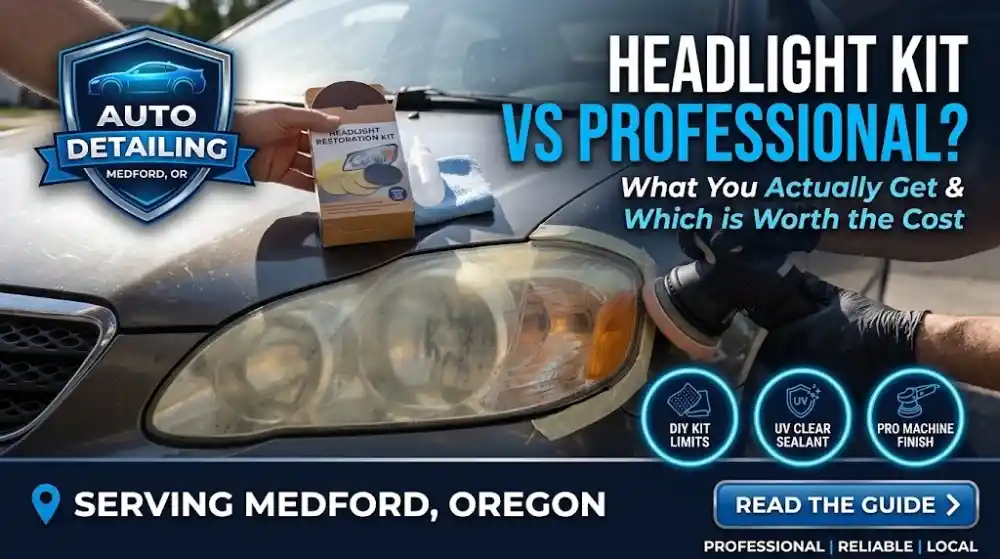
A headlight restoration kit costs less than a lunch out, so it is tempting to try one first. Sometimes that is the right call. Other times the kit leaves a lens that looks clear for a month, then turns yellow again. The headlight restoration kit vs professional question comes down to how bad the lens is and how long you want it to last. Here is how the two compare, so you can pick the one that fits your headlights.
Is a headlight restoration kit as good as a professional job?
It can be for light haze, if you follow the steps carefully and finish with a real UV protection layer. For deeper yellowing, pitting or lenses that have been sanded badly before, a professional restoration usually lasts longer and looks more even.
What Is Really Wrong With Cloudy Headlights
Modern headlight lenses are plastic with a thin clear coat to block UV light. Years of sun break that coat down, and the plastic underneath oxidizes. That is the yellow, hazy layer you see. The haze scatters light, so less of it reaches the road, which matters most on dark rural stretches at night.
Any restoration has to do two jobs. First, remove the damaged layer. Second, put protection back. A fix that does only the first job looks good for a short time, because the bare plastic starts oxidizing again right away.
What Kits Do
Kits come in three main types.
- Wipes and quick polishes. You rub on a liquid or wipe. They are fast, and they mostly polish off light surface haze.
- Sanding discs plus polish. You sand in steps, then polish. This removes more damage when done correctly.
- Kits with a UV sealant or clear coat. These add a protective layer after sanding and polishing, which is what makes the result last.
The kit you pick matters. A wipe-only kit on a deeply yellowed lens is like washing a stained shirt. It helps a little, but the stain stays.
Why Kit Results Often Fade
Most failed kit jobs come from the same few causes.
- No lasting UV protection. Without a sealant or clear coat, the lens re-oxidizes in months, especially in a Medford summer where cars sit in direct sun.
- Skipped sanding steps. Jumping from coarse to fine leaves deep scratches that polish cannot remove, so the lens looks hazy again.
- Dry or uneven sanding. It leaves swirl patterns and can burn through the coating in spots.
- Not taping off the paint. Sandpaper can dull the paint around the lens.
- Rushing the dry time. Sealant needs time to cure before the car goes into the sun or rain.
None of this means kits are bad. They just leave less room for error than people expect.
What a Professional Restoration Adds
A professional job follows the same steps but with better control.
- Inspection first. Cracks, moisture inside the lens and pitting are spotted before any work, so you are told if restoration is the right fix.
- Even sanding in stages. Progressive grits, kept wet, with edges taped.
- Machine polishing. A polisher gives an even finish that hand polishing struggles to match.
- A proper UV protection layer. This is the step that decides how long the clarity holds.
- Cure time. The lens is protected until the sealant has set.
Our Headlight Restoration page walks through this process and how long results typically last.
Side by Side
|
DIY kit |
Professional |
|
|
Cost |
Usually much lower |
Higher, typically priced per pair |
|
Time |
One to two hours for a first timer |
Usually under an hour or so for both lights |
|
Best for |
Light haze, careful beginners |
Deep yellowing, pitting, or a failed DIY |
|
Evenness |
Depends on your technique |
More consistent |
|
UV protection |
Only if the kit includes it |
Part of the process |
|
Risk |
Over-sanding, uneven finish, early yellowing |
Lower, with inspection first |
|
Lasts |
Months to a year or more, depending on the kit and how it is applied |
Often a year or two with sealant |
Those lasting times are general. Direct sun, garage parking and how the lens was cleaned all change the result.
Headlight Restoration Kit vs Professional: Cost Over Time
The sticker price is only part of the story. A kit costs a fraction of a professional job, and our Pricing page lists headlight restoration at $75 to $125 per pair. But if a kit job yellows again in a few months and you buy a second kit, or pay for a pro to fix the scratches, the savings shrink fast. A lens that has been sanded badly also has less clear coat left to work with, which can limit how well a later restoration turns out.
A fair way to think about it is cost per year of clear lights. A cheap fix that lasts four months and a mid-priced fix that lasts a year or two can end up costing about the same. The difference is your time, and whether the job is done right the first time.
When a Kit Is a Reasonable Choice
A kit makes sense if:
- The haze is light and the lens is not pitted
- You have an hour and a flat, shaded place to work
- The kit includes sanding steps and a UV sealant
- You are comfortable following steps carefully
Read the whole instruction sheet first and tape the paint. If a step looks skipped, do it anyway.
When to Skip the Kit
A professional is the safer choice if:
- The lens is deeply yellow or has a rough, pitted feel
- You tried a kit before and made scratches
- There is moisture or fogging inside the lens
- There are cracks or chips
- The headlight is on a car you plan to sell or keep a long time
Moisture inside the housing and cracked lenses cannot be fixed by restoration, and replacement is the honest answer. We cover how to tell in headlight restoration or replacement.
Why Medford Is Hard on Headlights
Southern Oregon has long, dry, sunny summers. A car parked outside gets hours of direct UV every day, which breaks down the factory coating and any new sealant faster. Garage or shade parking can double how long a restoration looks good, so it is worth choosing a covered spot if you have one.
What to Do After Any Restoration
Whether you use a kit or hire someone, a few habits protect the work.
- Avoid washing the car for at least a day, or as directed, so the sealant can cure.
- Wash gently with a soft mitt and mild soap.
- Do not use harsh cleaners or solvents on the lenses.
- Re-apply a UV protectant on a schedule if your product calls for it.
Making the Call on a Headlight Restoration Kit vs Professional
If your headlights are only lightly cloudy and you want to try a kit, choose one with a UV sealant and take your time. If they are badly yellowed, pitted or already scratched by a DIY attempt, a professional restoration is usually the better value. Restoring clear headlights is often a quick add-on to an Exterior Detailing visit.